
Map Library
Map Library
Map Library
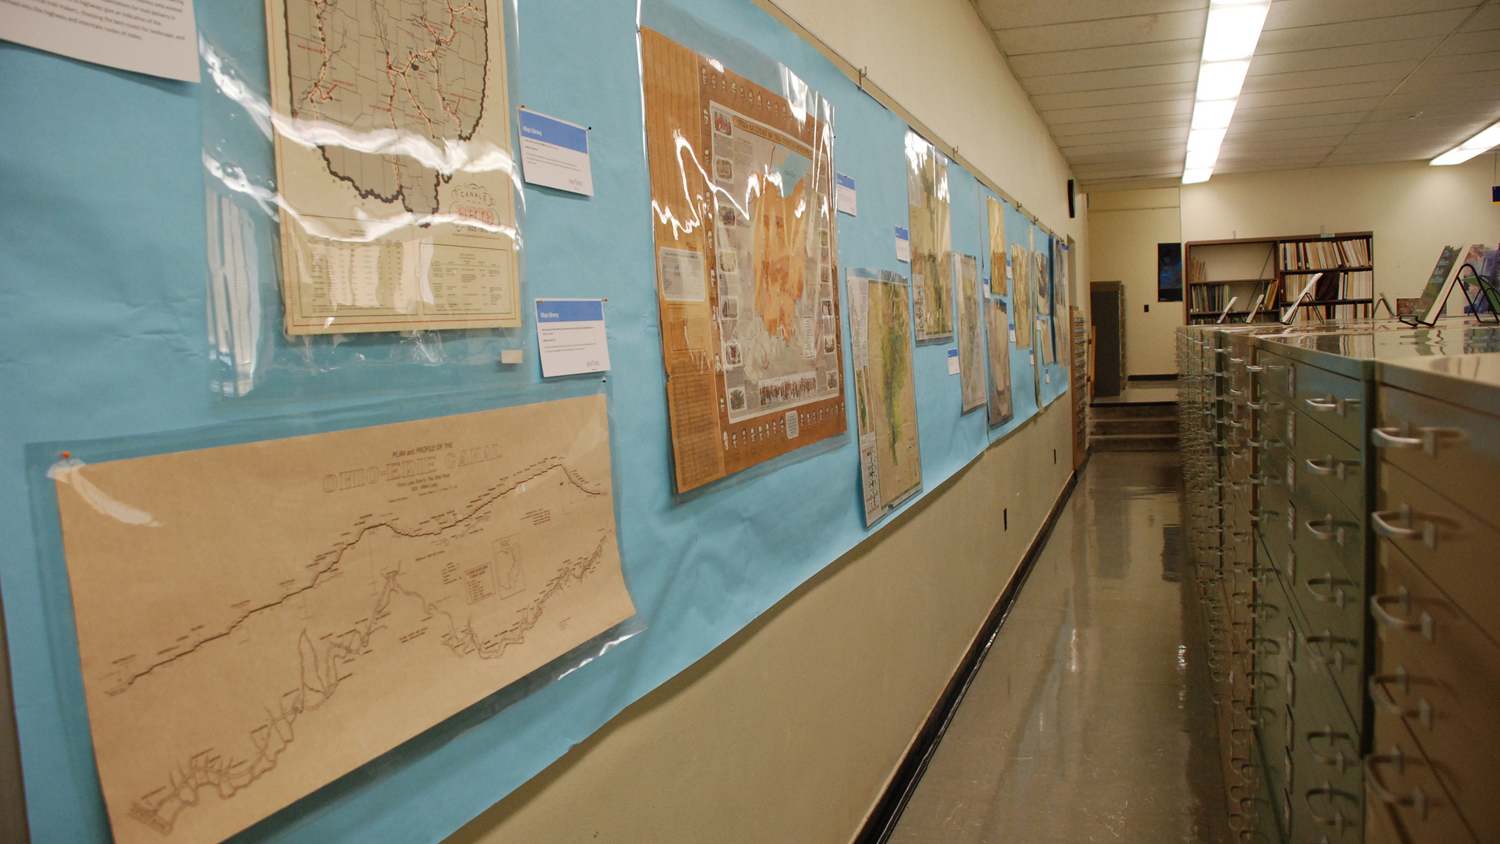
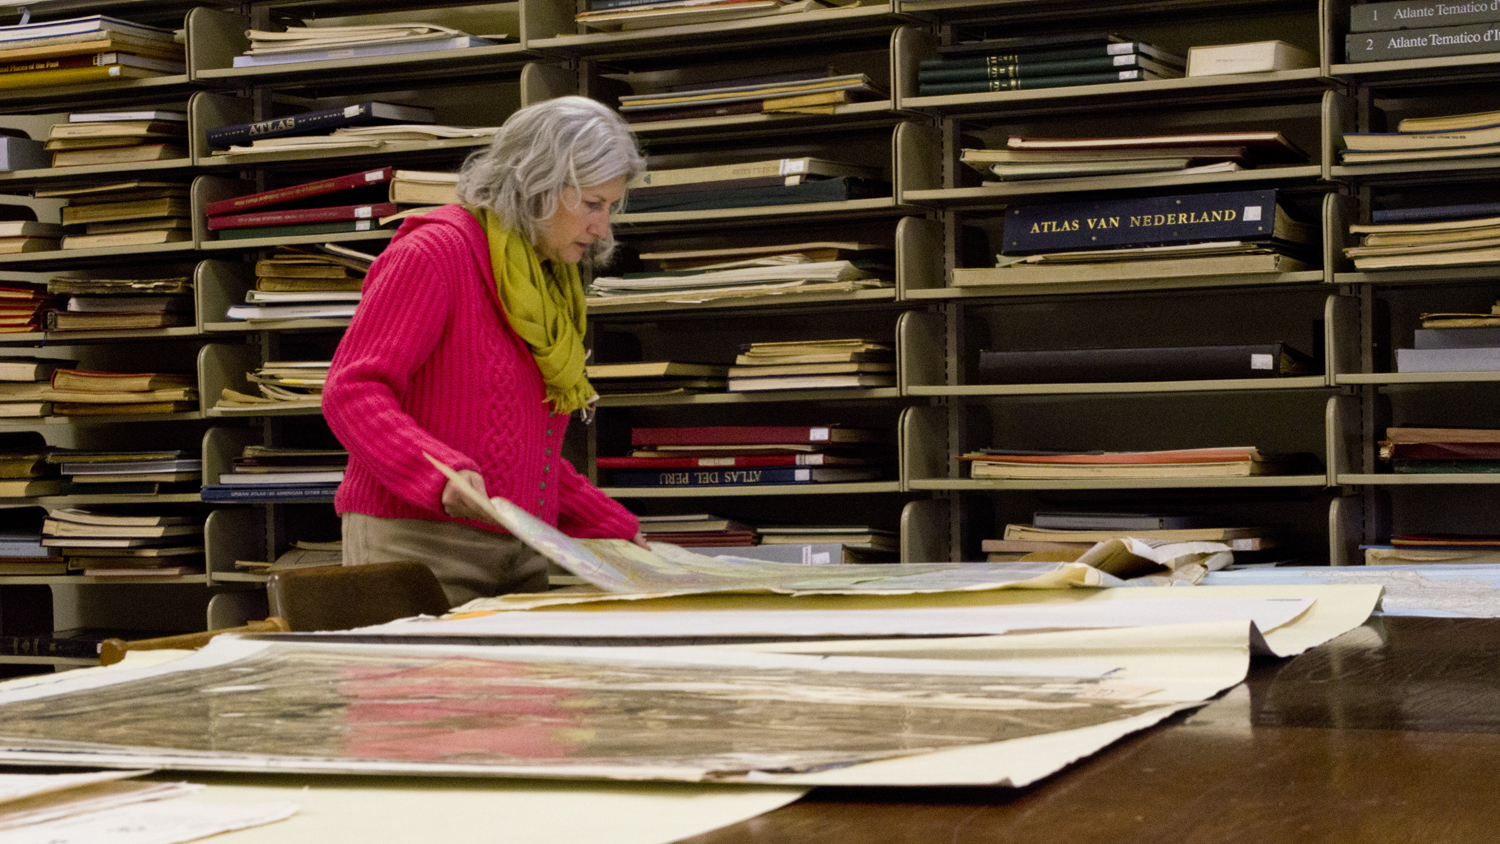
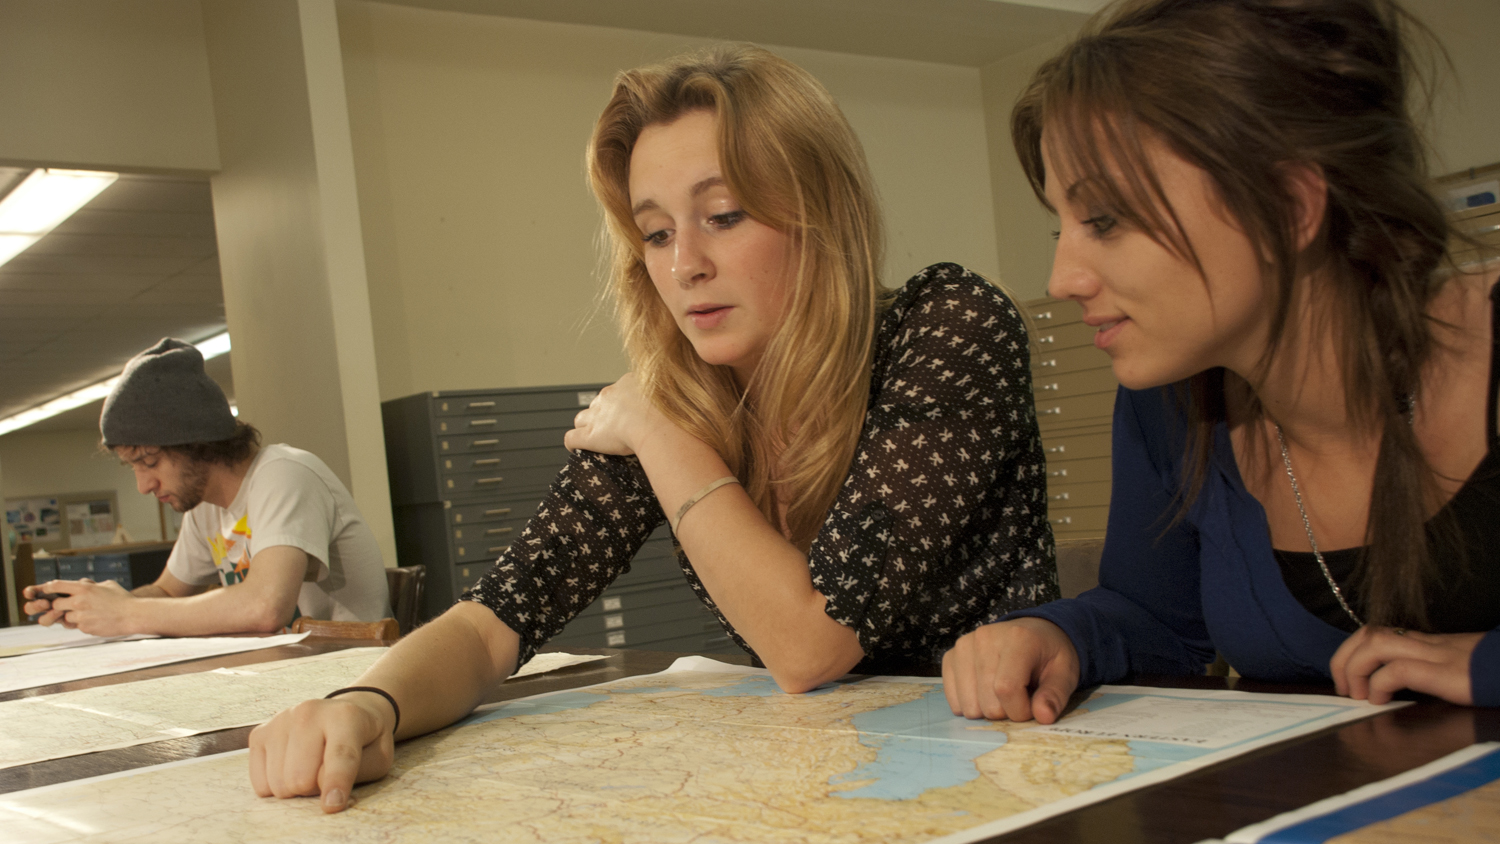
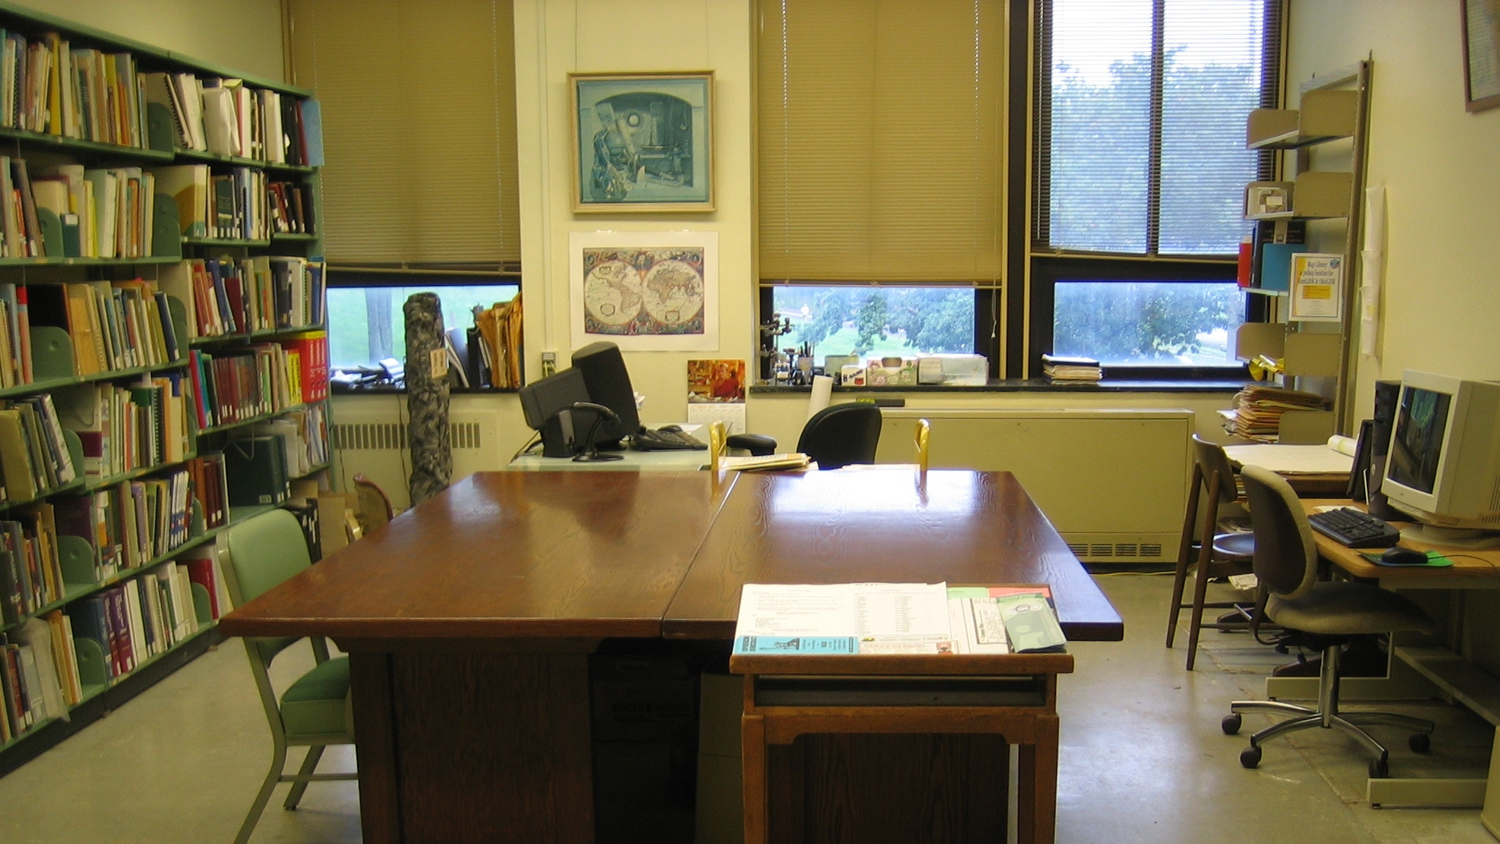
The Map Library is the University's chief cartographic and geospatial resource center for maps, atlases, GIS data, place name literature and cartographic reference materials in paper and electronic formats. The mission of the Map Library is to assist students in obtaining resources for research and learning, faculty in gathering resources for research and teaching, and community users in the educational and recreational pursuits for cartographic and geospatial resources.
Research Tools
Contact the Map Library
maplibrary@kent.edu | 330-672-2017
McGilvrey Hall, Room 410
325 South Lincoln Street
Kent, OH 44242
Events
Thursday, April 30, 2026 - 12:00 AM to
Monday, August 31, 2026 - 11:59 PM
Monday, August 31, 2026 - 11:59 PM
Until
Aug
31
12:00 AM
Friday, June 19, 2026 - 12:00 AM to 11:59 PM
Jun
19
12:00 AM
Friday, July 3, 2026 - 08:00 AM to
Saturday, July 4, 2026 - 12:00 PM
Saturday, July 4, 2026 - 12:00 PM
Until
Jul
04
08:00 AM